Table of Contents
ToggleIf your property doesn’t have reliable Wi-Fi, or doesn’t have any at all, 4G security cameras offer a practical alternative to traditional surveillance systems. These cameras use cellular data networks instead of broadband, which means they can work anywhere with a decent cell signal. That makes them ideal for detached garages, remote outbuildings, construction sites, rental properties, or homes in rural areas where internet access is spotty or non-existent. They’re also useful as temporary monitoring solutions during renovations or while waiting for internet service installation. This guide walks through what these cameras do, how to choose one, where to install it, and how to troubleshoot common setup issues.
Key Takeaways
- 4G security cameras operate on cellular LTE networks with built-in SIM cards, making them ideal for remote properties, rural areas, and locations without reliable Wi-Fi coverage.
- Choose a 4G security camera based on video resolution, power options (battery, solar, or hardwired), two-way audio, motion detection zones, and weatherproofing ratings (IP65 or higher) suited to your climate.
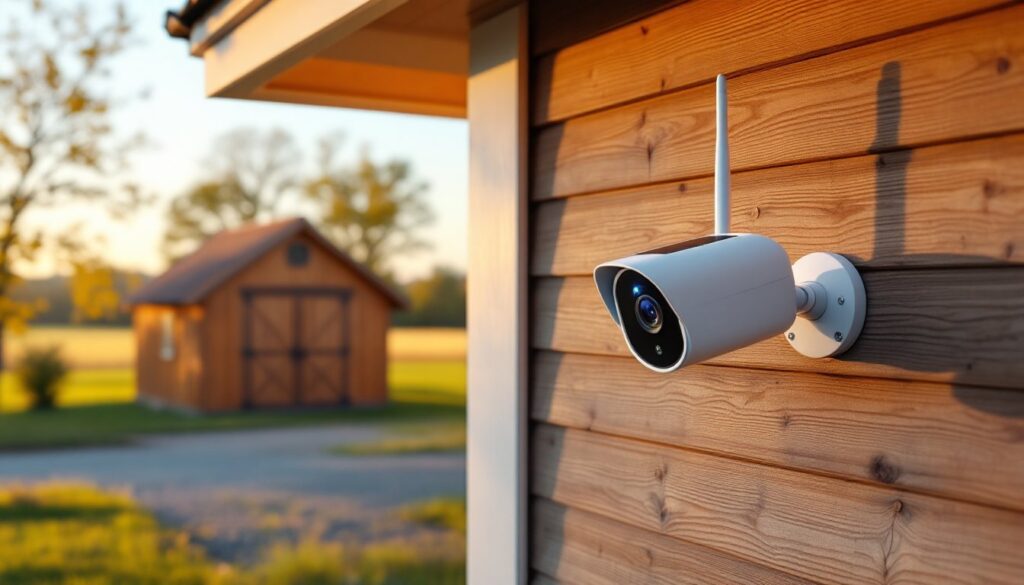
- Install cameras at entry points 7-9 feet high and on driveways to capture faces and license plates, while avoiding sun glare and cellular signal blockers like dense trees or metal structures.
- Minimize data consumption by switching to motion-activated recording and reducing resolution to 720p; expect 10-20 GB per month with motion detection versus 60-100 GB for continuous 1080p streaming.
- Troubleshoot weak signals by repositioning cameras higher or farther away, switching carriers for better coverage, and use motion detection zones with person detection AI to reduce false alerts.
- Test cellular connectivity and signal strength at ground level before mounting to avoid installation frustration, and consider adding a 4G security camera as backup redundancy alongside your existing Wi-Fi system.
What Is a 4G Security Camera and How Does It Work?
A 4G security camera operates on cellular LTE networks, the same infrastructure used by smartphones. Instead of connecting to a home router, these cameras contain a built-in SIM card slot that connects to a mobile carrier’s data plan. When the camera detects motion or records continuously, it uploads video footage to cloud storage or sends alerts via the cellular connection.
Most models require a separate cellular data plan, either prepaid or monthly, from carriers like AT&T, Verizon, or T-Mobile. Some manufacturers offer bundled plans specific to their cameras. Data consumption varies based on video quality and recording mode, a camera streaming 1080p continuously can use 60-100 GB per month, while motion-activated recording might only consume 10-20 GB.
The camera typically includes a rechargeable battery or requires hardwiring to a 12V power source. Solar panel kits are popular add-ons for continuous outdoor use, especially if running electrical wire isn’t feasible. Signal strength matters: most cameras need at least two bars of LTE signal to function reliably. You can check coverage in your area using your carrier’s online map before purchasing.
Key Benefits of Installing 4G Security Cameras at Home
The primary advantage is location flexibility. You’re not tethered to a Wi-Fi router’s range, so cameras can monitor barns, equipment sheds, gate entrances, or vacant land parcels. This is especially valuable for rural homeowners or anyone with structures beyond typical wireless range (most home routers max out around 150-300 feet outdoors).
Quick deployment is another benefit. There’s no need to run Ethernet cable, install network extenders, or troubleshoot router configurations. Pop in a SIM card, mount the camera, and it’s live. That makes these cameras suitable for temporary job sites or seasonal properties where permanent infrastructure isn’t justified.
Cellular cameras also provide backup security during internet outages. If a burglar cuts your fiber line or a storm knocks out broadband, a 4G camera continues recording. Some homeowners install a cellular camera alongside their Wi-Fi system for redundancy.
Finally, they’re useful for monitoring remote family properties, elderly parents’ homes, vacation cabins, or rental units, without requiring the owner to manage Wi-Fi credentials or troubleshoot connectivity issues remotely.
Top Features to Look for When Choosing a 4G Security Camera
Start with video resolution. Most 4G cameras offer 1080p: some newer models provide 2K or 4K. Higher resolution consumes more data, so balance image quality against your monthly data cap. For identifying faces or license plates, 1080p is usually adequate at distances under 30 feet.
Power options matter for installation planning. Battery-powered models typically last 2-6 months per charge depending on usage. Solar-powered kits eliminate recharging but require southern exposure (in the Northern Hemisphere) with minimal shade. Hardwired models need a 12V power supply, which might mean hiring an electrician if you’re mounting the camera far from existing outlets.
Look for two-way audio if you want to communicate with delivery drivers or warn off trespassers. Built-in motion detection zones help reduce false alerts from trees, passing cars, or animals. Night vision range varies, most IR cameras see 30-50 feet in total darkness: color night vision models require some ambient light but provide better detail.
Weatherproofing is essential for outdoor use. Check the IP rating: IP65 or higher handles rain and dust, while IP67 can withstand brief submersion. For harsh climates, look for operating temperature ranges that match your region (-4°F to 122°F is common).
Some of the best 4G solar security camera models include pan-and-tilt functionality, which lets you remotely adjust the viewing angle via smartphone app. This is useful for covering large yards or driveways without installing multiple fixed cameras.
Cloud storage vs. local storage: Many manufacturers offer cloud plans ranging from $3-10/month for 30 days of rolling footage. Some cameras include microSD slots (up to 256 GB) for local recording, eliminating monthly fees but requiring manual retrieval if the camera is stolen.
Best Locations to Install 4G Security Cameras Around Your Property
Entry points are the first priority: front door, back door, and side gates. Mount cameras 7-9 feet high to capture faces while staying out of easy reach. Angle the camera downward at roughly 15-30 degrees. Too high and you’ll only see the tops of heads: too low and a hat brim obscures faces.
Driveway or long access roads benefit from 4G cameras since running network cable hundreds of feet isn’t practical. Position the camera to capture vehicle approach and license plates, for plates, mount the camera at vehicle height (3-4 feet) rather than overhead.
Detached structures like workshops, barns, or pool houses are ideal candidates if they lack Wi-Fi coverage. Thieves often target these buildings for tools, equipment, or stored vehicles. Mount cameras at corners to cover two sides with one unit.
Perimeter fencing or property boundaries can be monitored if you have cellular signal. Use weatherproof housings and check your local property line regulations, some jurisdictions restrict camera angles that capture neighbors’ yards or public sidewalks beyond your property.
Avoid mounting cameras directly facing the sun during key hours (east-facing in morning, west in evening), as glare washes out footage. Also avoid locations behind dense trees or metal structures that block cellular signal. Test signal strength with your phone at the proposed location before drilling mounting holes.
DIY Installation Tips for 4G Security Cameras
Before drilling: Test the camera’s cellular connection at ground level in the planned location. Open the app, insert the SIM card, power on the camera, and verify it connects. Check that motion detection and night vision work as expected. This avoids the frustration of mounting a camera only to discover poor signal.
Tools you’ll need: Drill with masonry or wood bits (depending on mounting surface), screwdriver, level, pencil, and ladder rated for your height plus 3 feet. For brick or stucco, use plastic anchors sized for the included screws (usually #8 or #10). For wood siding, 1.5-inch exterior-grade screws work well into studs or solid sheathing.
Mounting steps:
- Hold the bracket against the wall and use a level to ensure it’s plumb.
- Mark screw holes with a pencil.
- Drill pilot holes, for masonry, use a 5/16-inch masonry bit: for wood, a 1/8-inch bit prevents splitting.
- Insert anchors (if needed) and drive screws, leaving a 1/4-inch gap.
- Hang the camera mount, then tighten screws fully.
- Attach the camera body and adjust the angle.
Cable management: If using a solar panel, route the cable along the mounting surface using cable clips or conduit to prevent UV damage and tampering. Seal any holes through walls with silicone caulk rated for exterior use.
Power setup: For battery models, fully charge before installation. For solar, angle the panel toward the equator (south in the Northern Hemisphere) at a tilt angle equal to your latitude (e.g., 35 degrees if you’re at 35°N). Check the manufacturer’s app to confirm the panel is charging, most show a solar icon when active.
Safety notes: Wear safety glasses when drilling overhead. Use a fiberglass or wooden ladder if working near electrical service lines. If mounting above 12 feet or on steep roofs, hire a professional, falling off a ladder costs more than installation labor.
Common Challenges and How to Overcome Them
Weak signal: If you’re getting one bar or frequent disconnections, try relocating the camera 10-20 feet or raising it higher, signal improves with elevation. Alternatively, some manufacturers sell external antennas that boost reception. As a last resort, switch carriers: coverage maps don’t always reflect real-world performance, especially in valleys or near dense foliage.
High data usage: Continuous recording burns through data plans quickly. Switch to motion-activated mode and reduce video resolution to 720p if bandwidth is tight. Adjust motion sensitivity to ignore minor movements like swaying branches. Schedule recording windows if you only need monitoring during specific hours (e.g., nighttime or weekdays when you’re at work).
False alerts: Wind-blown plants, passing headlights, and insects near the lens trigger notifications. Use the app’s activity zones feature to mask out roads, sidewalks, or tree lines. Enable person detection if available, it uses AI to distinguish humans from other motion sources, though it’s not perfect.
Battery drain in winter: Cold temperatures reduce lithium battery capacity by 20-40%. If your camera dies frequently in winter, consider adding a larger-capacity battery pack or switching to a hardwired power supply. Solar panels produce less energy during short winter days, so factor that into your power budget.
Theft or vandalism: Mount cameras out of reach and use tamper-proof screws (Torx or hex types that require special bits). Some cameras include anti-theft brackets or cable locks. For high-risk areas, install a decoy camera lower and hide the real one higher or in a less obvious spot. Current trends in smart home technology increasingly include built-in tamper alerts that notify you immediately if someone adjusts or removes the camera.
Compatibility issues: Not all cameras work with all carriers. Verify that your camera supports the specific LTE bands used by your carrier (e.g., Verizon uses bands 2, 4, 5, 13, and 66). Some cameras are locked to specific carriers, so check before buying if you plan to use your own SIM. Many recent reviews on sites like CNET test cross-carrier compatibility for popular models.
Conclusion
4G security cameras fill a practical gap for monitoring areas beyond Wi-Fi reach or providing backup during internet outages. Success comes down to choosing the right features for your use case, confirming adequate signal strength before installation, and managing data consumption to avoid bill shock. Most homeowners can handle installation with basic tools and a free afternoon. If you’re covering a remote structure or property boundary, start with one camera to test signal and data usage before expanding your system.